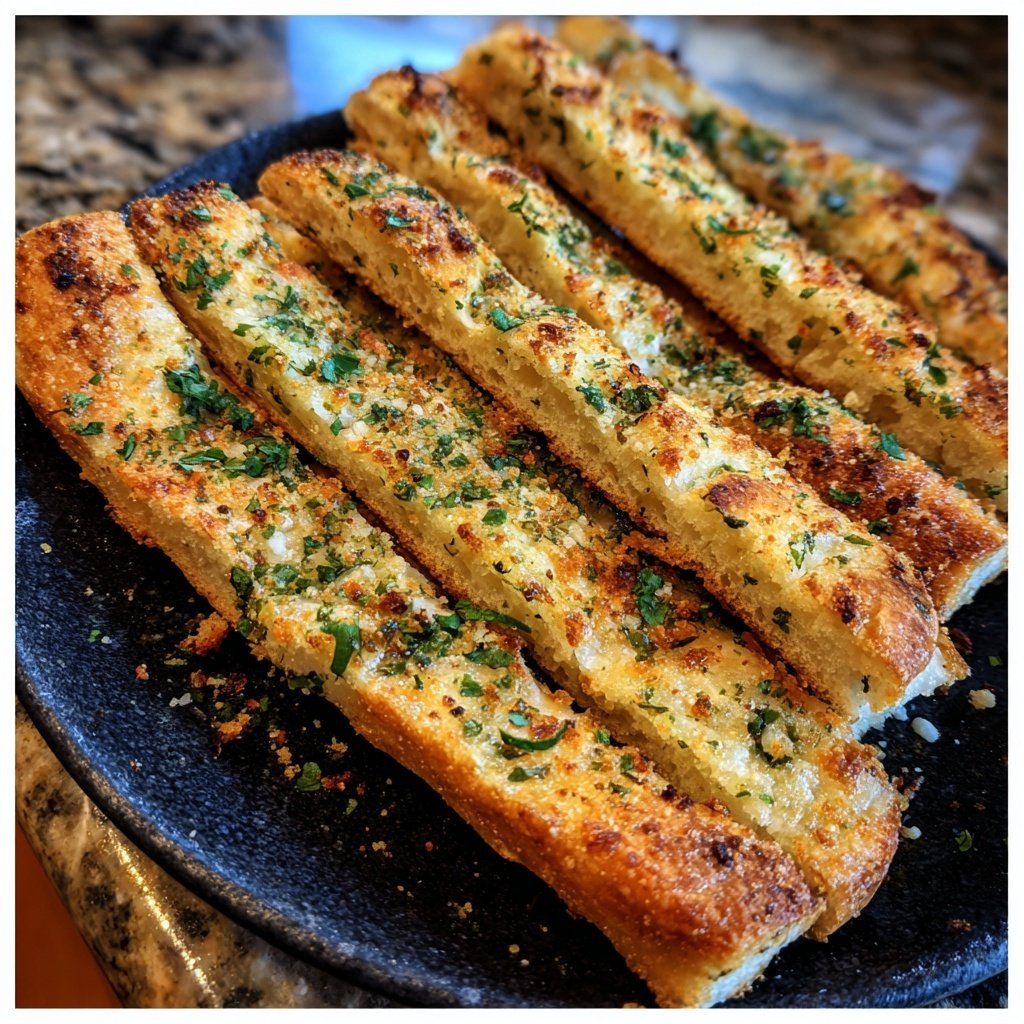
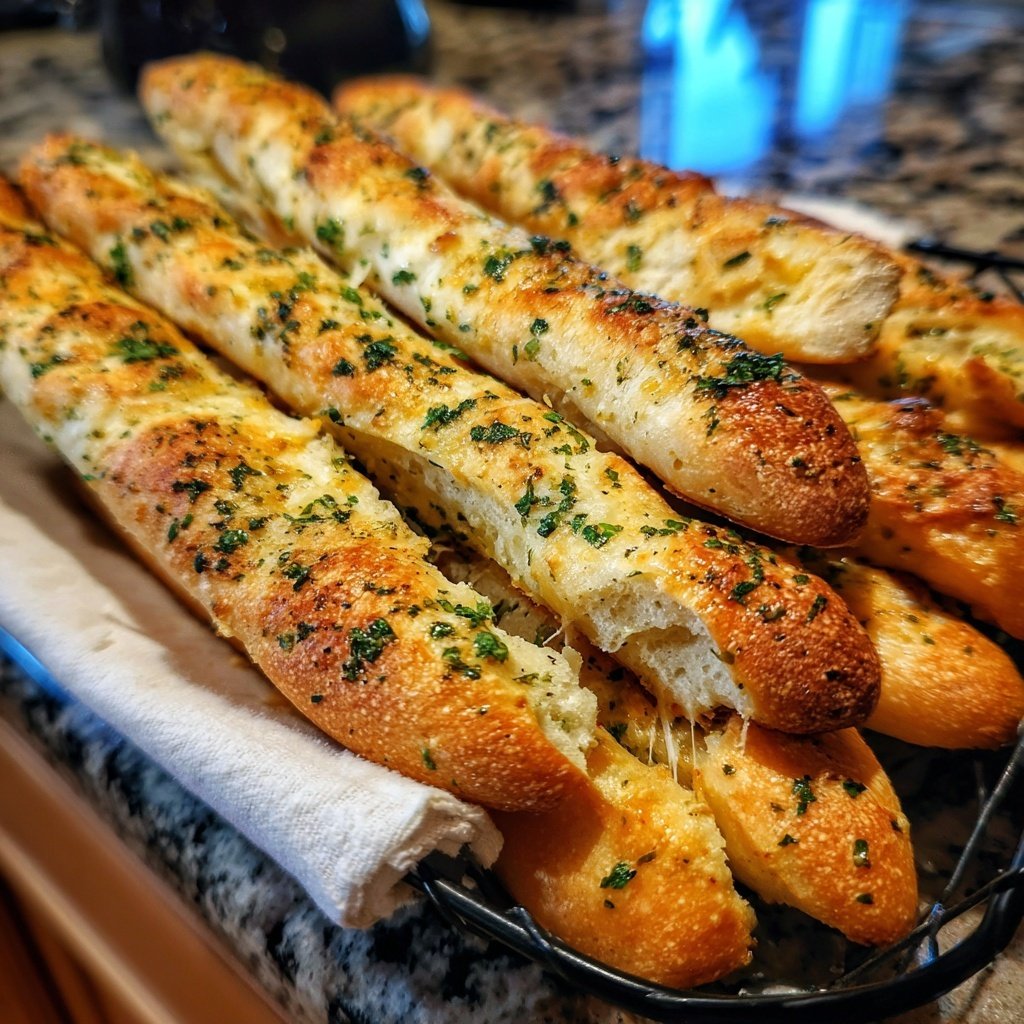
Garlic Herb Breadsticks
Highlighted under: Family Favorite Dishes
I absolutely love making Garlic Herb Breadsticks at home. There’s nothing like the smell of freshly baked bread wafting through the kitchen, particularly when it’s infused with garlic and herbs. I’ve perfected this recipe over time, allowing the dough to rise just right and ensuring it’s baked to golden perfection. The result is a warm, chewy breadstick that pairs beautifully with pasta dishes or can be enjoyed on their own with a little butter. It’s simple enough for weeknight dinners yet impressive enough for entertaining guests!
As I began experimenting with different breadstick recipes, I wanted to incorporate my love for garlic and fresh herbs. The right combination made all the difference, and I was thrilled with the outcome when I achieved that delightful balance of flavors. Each bite is a burst of savory goodness!
I also learned that allowing the dough to rise adequately yields a fluffier texture, which I recommend not skipping. Pair them with homemade marinara or your favorite dip for a perfect appetizer that will have everyone coming back for more!
Why You'll Love These Breadsticks
- Irresistible garlic aroma that fills your kitchen
- Soft and fluffy texture that’s perfect for dipping
- Quick and easy to make, perfect for any occasion
The Importance of Kneading
Kneading the dough is a crucial step that significantly affects the texture of your breadsticks. When you knead, you are developing the gluten in the flour, resulting in a chewy and fluffy interior. Aim for a smooth consistency; the dough should not stick to your hands when properly kneaded. If it does, sprinkle a little more flour until it's manageable. Typically, kneading for about 5 minutes will get you to the right texture.
Make sure you’re using a well-floured surface to prevent the dough from sticking. Apply gentle pressure while folding the dough back onto itself repeatedly. This process not only helps to evenly distribute the yeast but also incorporates air, leading to a lighter breadstick. Keep an eye on the dough; it should feel elastic and soft but not tacky.
Rising Time and Conditions
The rising time can make or break your breadsticks. Too little rising time and they will be dense, while too much can lead to over-proofing. To achieve the perfect rise, look for a warm spot in your kitchen, possibly near a preheating oven, to encourage yeast activity. Cover the bowl with a damp cloth to retain moisture, creating a warm atmosphere that promotes fermentation. Ideally, you want to let it rise until it has doubled in size, which usually takes about 20 minutes.
If your dough seems to be rising slowly, it may be due to cooler kitchen temperatures. In this case, you can try placing the bowl in a slightly warmed oven (turned off) for the rising process. Just check it frequently; you don’t want the dough to get too warm and kill the yeast.
Serving and Storing Tips
These Garlic Herb Breadsticks are best enjoyed fresh out of the oven when they’re golden and warm. However, if you have leftovers, store them in an airtight container at room temperature for up to two days. For longer storage, you can freeze the unbaked breadsticks after shaping them. Just place them on a baking sheet to freeze individually before transferring to a zip-top bag. They can be baked directly from frozen; just add a few extra minutes to the baking time.
For an extra touch when serving, try whipping up a simple herb butter by combining softened butter with fresh herbs like basil or parsley, alongside the garlic. This elevates the flavor profile, making the breadsticks even more irresistible when served warm. They're perfect alongside marinara sauce or as a side to your favorite pasta dishes.
Ingredients
For the Breadsticks
- 2 cups all-purpose flour
- 1 tablespoon instant yeast
- 1 teaspoon sugar
- 1 teaspoon salt
- ¾ cup warm water (110°F)
- 2 tablespoons olive oil
- 2 garlic cloves, minced
- 1 tablespoon dried Italian herbs
- ¼ cup grated Parmesan cheese (optional)
- Melted butter for brushing
Instructions
Prepare the Dough
In a large bowl, combine the flour, instant yeast, sugar, and salt. Gradually add warm water and olive oil to the mixture, stirring until a soft dough forms. Knead on a floured surface for about 5 minutes, until smooth.
Let the Dough Rise
Place the dough in a greased bowl, cover it with a damp cloth, and let it rise in a warm area for 20 minutes, or until doubled in size.
Shape the Breadsticks
Preheat your oven to 400°F (200°C). Once risen, punch down the dough and cut it into 12 equal pieces. Roll each piece into a long stick and place them on a baking sheet lined with parchment paper.
Add Flavor
In a small bowl, mix the minced garlic, dried herbs, and Parmesan cheese. Brush the breadsticks with melted butter, then sprinkle the garlic herb mixture on top.
Bake
Bake the breadsticks in the preheated oven for 15-20 minutes, or until golden brown. Remove from the oven and brush with more melted butter before serving.
Pro Tips
- For an extra flavor boost, you can experiment by adding fresh herbs or spices to the dough itself. If you want them to be extra cheesy, consider sprinkling a bit of mozzarella on top before baking.
Customizing the Recipe
Feel free to get creative with the flavors by adding different herbs or spices to your garlic mix. For instance, a pinch of red pepper flakes can introduce a delightful heat, while fresh rosemary adds a fragrant twist. Alternatively, for a cheesy variation, you can incorporate shredded mozzarella or cheddar cheese into the dough for a rich flavor and gooey texture.
If you're looking for a gluten-free version, you can substitute an equal amount of gluten-free all-purpose flour. Just make sure it contains xanthan gum to mimic the elasticity of wheat flour. The texture might differ slightly but will still yield delicious breadsticks.
Troubleshooting Common Issues
If your breadsticks don’t rise as expected, check the freshness of your yeast. Instant yeast should be active; if it’s expired, it may not work effectively. Activate it with warm water and sugar to see if it bubbles before combining it with the rest of your ingredients.
Another common issue is breadsticks turning out too hard. This can happen if they’re overbaked. Keep a close eye on them in the last few minutes of baking; they should be golden brown and sound hollow when tapped. Remember to brush them with melted butter immediately after coming out of the oven to keep them moist and flavorful.
Making Breadsticks Ahead of Time
To save time on busy weeknights, you can prepare the dough ahead of time. After the first rise, store the dough in the refrigerator for up to 24 hours. Let it come to room temperature before rolling it into sticks and proceeding with the recipe. This makes it a great option for entertaining, as you can prepare everything in advance and bake them fresh just before serving.
You can also shape the breadsticks in advance and place them on a baking sheet lined with parchment paper. Cover them with plastic wrap and refrigerate. When ready to bake, simply remove the wrap and allow them to rise for about 10-15 minutes before baking, ensuring they are perfectly risen and fluffy.
Questions About Recipes
→ Can I use whole wheat flour instead of all-purpose?
Yes, you can substitute whole wheat flour, but the texture may be denser.
→ How long can I store leftover breadsticks?
Store leftover breadsticks in an airtight container at room temperature for up to 2 days.
→ Can I freeze these breadsticks?
Absolutely! Once they've cooled completely, freeze them in a zip-top bag for up to 3 months.
→ What can I serve these with?
They pair well with marinara sauce, alfredo sauce, or even just butter for a simple snack.
Garlic Herb Breadsticks
Created by: Brielle Thompson
Recipe Type: Family Favorite Dishes
Skill Level: Beginner
Final Quantity: 12 breadsticks
What You'll Need
For the Breadsticks
- 2 cups all-purpose flour
- 1 tablespoon instant yeast
- 1 teaspoon sugar
- 1 teaspoon salt
- ¾ cup warm water (110°F)
- 2 tablespoons olive oil
- 2 garlic cloves, minced
- 1 tablespoon dried Italian herbs
- ¼ cup grated Parmesan cheese (optional)
- Melted butter for brushing
How-To Steps
In a large bowl, combine the flour, instant yeast, sugar, and salt. Gradually add warm water and olive oil to the mixture, stirring until a soft dough forms. Knead on a floured surface for about 5 minutes, until smooth.
Place the dough in a greased bowl, cover it with a damp cloth, and let it rise in a warm area for 20 minutes, or until doubled in size.
Preheat your oven to 400°F (200°C). Once risen, punch down the dough and cut it into 12 equal pieces. Roll each piece into a long stick and place them on a baking sheet lined with parchment paper.
In a small bowl, mix the minced garlic, dried herbs, and Parmesan cheese. Brush the breadsticks with melted butter, then sprinkle the garlic herb mixture on top.
Bake the breadsticks in the preheated oven for 15-20 minutes, or until golden brown. Remove from the oven and brush with more melted butter before serving.
Extra Tips
- For an extra flavor boost, you can experiment by adding fresh herbs or spices to the dough itself. If you want them to be extra cheesy, consider sprinkling a bit of mozzarella on top before baking.
Nutritional Breakdown (Per Serving)
- Calories: 210 kcal
- Total Fat: 8g
- Saturated Fat: 2g
- Cholesterol: 10mg
- Sodium: 180mg
- Total Carbohydrates: 31g
- Dietary Fiber: 1g
- Sugars: 0g
- Protein: 5g